[ad_1]
As winter settles in and the snow begins to fall, RVers are always on the lookout for methods to preserve heat whereas having fun with their favourite exercise. Probably the greatest methods to start the method of conserving the inside of your rig as heat as attainable is to verify the window seals are as much as snuff.
In spite of everything, home windows aren’t known as “warmth thieves” for nothing. And maybe extra importantly, checking the RV window seals additionally provides you the possibility to examine them for indicators water injury, and substitute accordingly.
Moisture is an RV’s worst enemy. RV producers know this after they reduce holes and set up home windows within the sides of their RVs. That’s why, after a window is put in, an RV technician rigorously seals the sides of its body utilizing a bead of RV sealant. It’s this window seal that helps preserve moisture from sneaking in underneath the window body and damaging the RV (and chilly drafts from getting into the inside). Examine every of your RV’s window seals continuously to make sure they’re in working order. In case you wait till there are seen indicators of harm (like de-lamination within the space close to the home windows), you’ll be in for some costly restore payments.
It’s simple to verify your RV’s window seals, and restore when vital.
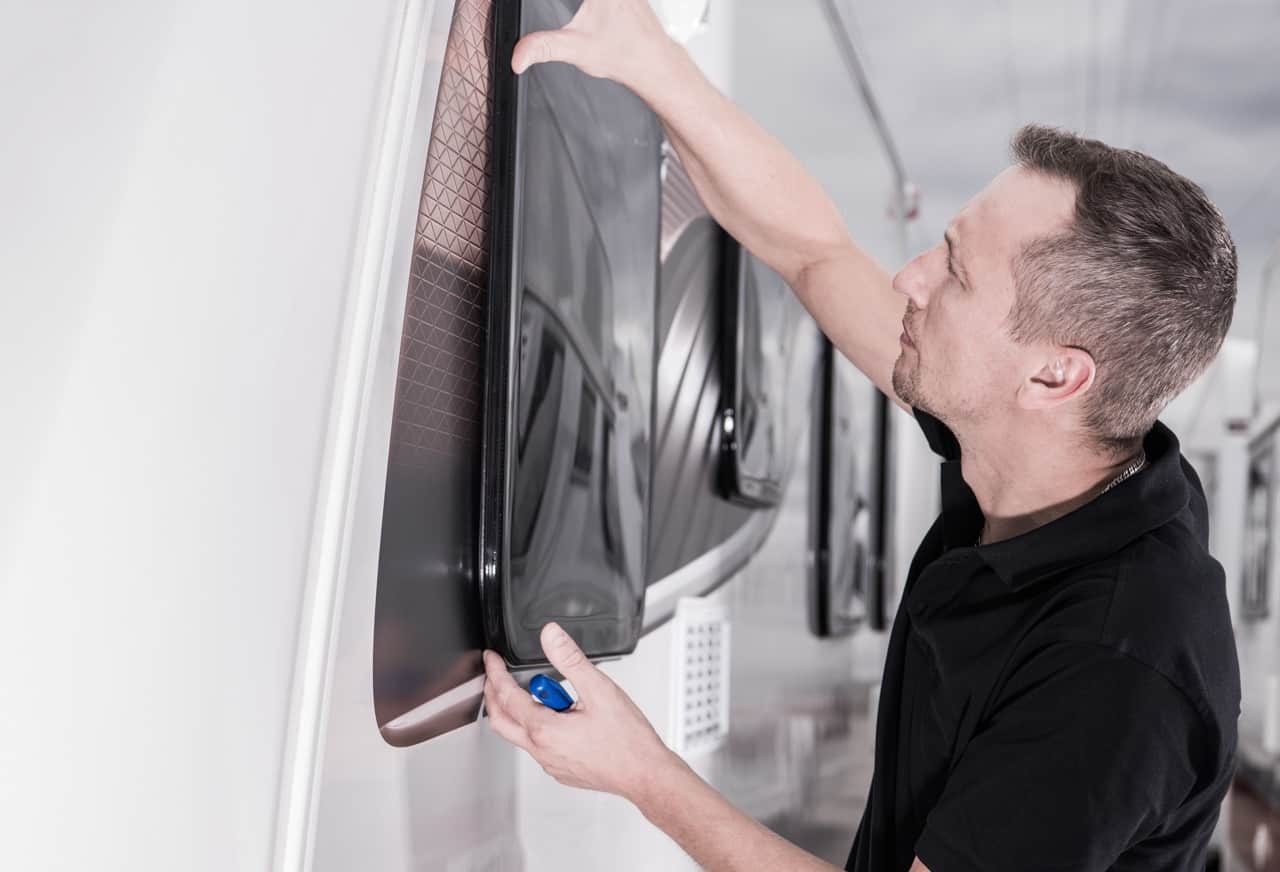
examine RV window seals
Use a ladder (if vital) to rigorously examine every of the window seals, particularly on the high of the home windows. Some telltale indicators that your RV window seals want upkeep are:
- Cracking
- Shrinking
- Peeling
- Flaking
If the caulking across the edges of the RV home windows seems to be prefer it’s seen higher days, you’ll need to switch it. It’s a easy DIY course of.
What you’ll want
Earlier than you begin this straightforward repair it’s vital to have all the things you want helpful. For this job, right here’s what you’ll want:
- Plastic gloves
- Plastic razor blades
- 1 tube of Versatile silicone sealant
- A caulking gun
- A roll of painter’s tape
- Rubbing alcohol
- Paper towels or rags
- An previous toothbrush
- A solvent authorised on your RV’s surfaces
Professional Tip: Earlier than making use of any solvents (or rubbing alcohol) to your RV’s exterior, take a look at it in an not noticeable spot to make sure it doesn’t trigger any injury to the surfaces.
substitute RV window caulking
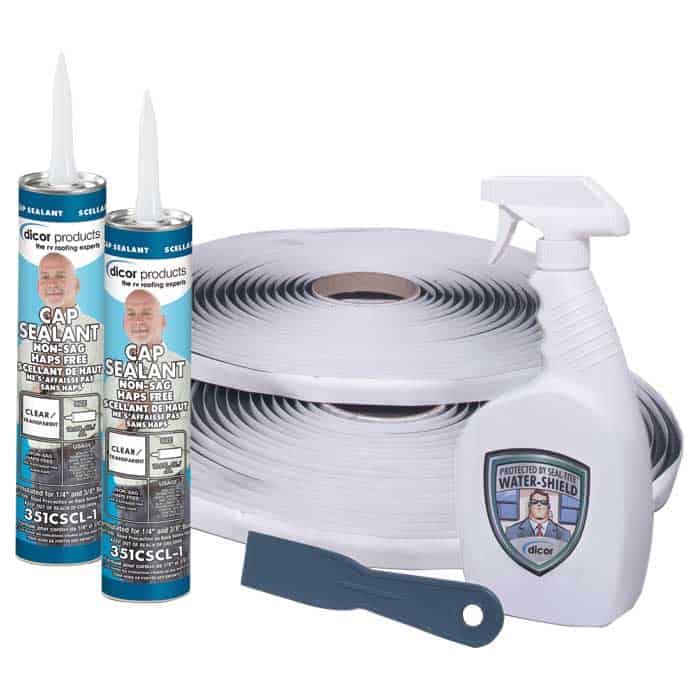
Use a transparent, versatile, silicone RV window sealant for this job. Choose a heat, dry day when there isn’t any rain or snow within the forecast for at the least 48 hours. In case you can carry out the upkeep in a storage or coated shelter, even higher.
Step 1: Fully take away the previous caulking
This takes a while, but it surely’s nicely price doing accurately. Use a plastic razor blade to rigorously scrape off the previous caulking. (Steel blades of any form can actually injury the RV’s exterior end, so we advocate utilizing plastic as a substitute). Use a small brush soaked in a solvent that’s authorised to be used in your RV’s exterior kind to take away any remnants. Then wipe with a rag or paper towel to take away any hint of the previous window sealant.
Step 2: Prep the floor
Put together the world subsequent to the window to ensure that the brand new window caulking to stay to it. Soak a paper towel with rubbing alcohol and use it to wash up any residue from the solvent. Permit it to totally dry.
Step 3: Masks
Use painter’s tape to masks about one-eighth of an inch from the sting of the window body. This can assist to make sure your sealant line is neat, clear, and professional-looking.
Step 4: Apply window sealant
Use a caulking gun to rigorously apply sealant.
Professional Tip: Lower the caulking tube applicator tip at a slight angle, however preserve the outlet within the tube as small as attainable to assist with the applying.
Take your time. Whenever you’re completed, use your finger or a caulking instrument easy the caulk line and assist adhere it between the window and the RV siding. Rigorously take away the painter’s tape.
Step 5: Permit to remedy for 48 Hours
Most RV window sealants take 48 hours to remedy correctly. Do your finest to maintain issues dry for this time-frame. After 48 hours, clear up any mistake areas and straighten the caulking line as wanted.
Sustaining the seals in your RV’s home windows is a simple and efficient solution to keep away from water injury, and to assist in the battle of conserving the inside heat.
[ad_2]
